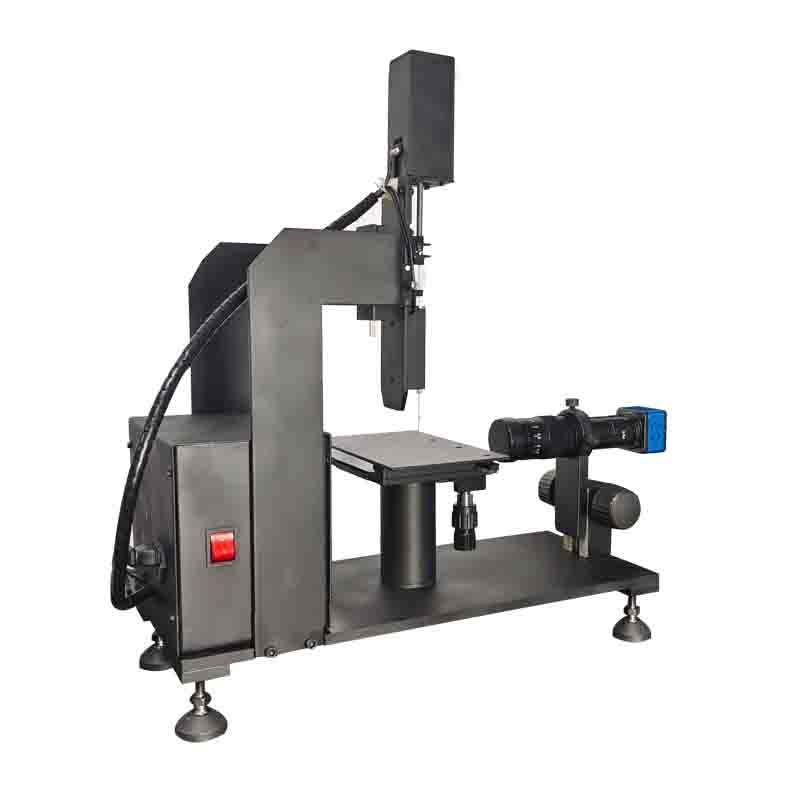
Hj-1 Water Drop Angle Measurement/Contact Angle Analyzer/Contact Angle Tester
1. Video capture:
Using domestic high-end industrial cameras, the maximum image resolution is 2048*1536 pixels, high precision, high definition, and low noise. USB2.0 output, computer control gain, brightness, exposure time. USB power supply, no separate power supply is required. S/N ratio>52dB, exposure time 17uS~2.3S.
2. Lens characteristics:
Domestic high-end zoom microscope lens.
Zoom ratio: 0.7~4.5X
Magnification: 30~130 times
Best shooting distance: 95mm
Tube length: 165mm
Lens adjustment bracket characteristics: use F-type special lens bracket, adjustment range: 60mm
3. Movement characteristics of the stage:
Movement method: manual, smooth optical parts
X direction (transverse): 80mm, accuracy 0.1mm
Y direction (longitudinal): 30mm, accuracy 0.1mm
Z direction (up and down): 50mm
4. Rotating table characteristics
The domestic high-precision optical rotating table is used to drive the stage to rotate concentrically to realize the test of the forward and backward angles by turning and falling.
Rotation method: computer controlled, driven by high subdivision stepper motor, and can be adjusted manually.
Rotation angle: ≥90°
Rotation speed: computer software adjustment
Angle scale resolution: 1°
5.Monochromatic semiconductor lighting source with continuously adjustable brightness.
6. The highest frame rate: 25 frames per second
7. Dimensions: 600x310x450 mm
Application
Contact angle measuring instruments are widely used in various industries and fields. In the fields of mobile phone manufacturing, glass manufacturing, surface treatment, materials research, chemical engineering, semiconductor manufacturing, coatings and inks, electronic circuits, textile fibers, medical biology and other fields, contact angle measurement has become an important instrument for evaluating surface performance.
| Movement Speed X&Y / Z (mm/sec): | 300/500mm |
| Dimensions | 637×660×820mm |
| machine weight | About 60KG |
| Display method | Teaching Box LCD (320X240) |
| edit mode | Teaching Pendant/PC |
| I/0 signal | 4 Inputs/4 Outputs |
| External control interface | RS232 |
| input power | AC220V |
| Test sample table size | 200mm×125mm |
| Sample stage movement | 100mm left and right, 40mm front and rear |
| Injector movement | Up and down 100mm around 100mm |
| microscope movement | Up and down 80mm (fine adjustment 3mm) |
| Sample size | 200mm (width) 30mm (thickness) × 300mm (length) |
| Instrument dimensions | 500mm (length) × 300mm (width) × 400mm (height) |
| Contact angle measurement range | 0-1800 |
| Contact angle measurement accuracy | ±0.10 |
| Contact Angle Test Method | Baseline fitting method, Ellipsometry method. |
| Contact angle analysis method | Baseline fit measurement, manual three-point measurement. |
| 2X fixed magnification HD microscope | |
| HD digital CCD industrial camera | |
| Instant screenshot | |
| Micro-head manual injection system, control droplet size uniformity, accurate data. | |
| Export any single image | |
| Contact angle automatic measurement results | |


