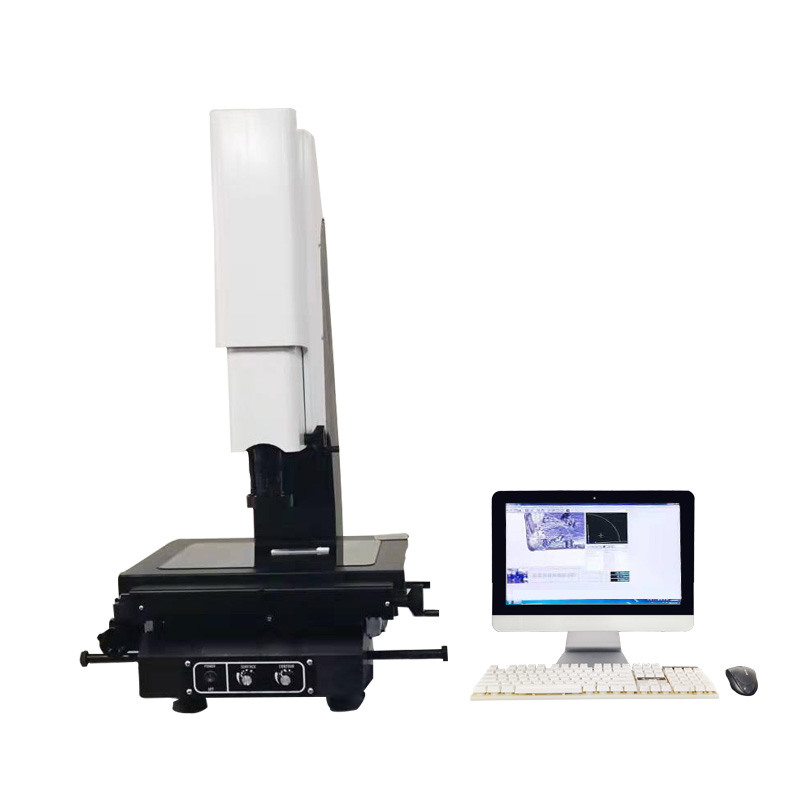
Manual 2D 2.5D 3D Image Instrument Optical Machine Vision Testing Equipment
Scope of application
Imagers are widely used in machinery, electronics, molds, injection molding, hardware, rubber, low-voltage electrical appliances, magnetic materials, precision hardware, precision stamping, connectors, connectors, terminals, mobile phones, home appliances, computers (computers), LCD TVs (LCDs). ), printed circuit boards (circuit boards, PCBs), automobiles, medical equipment, clocks, instruments, etc. The measured products also involve many industries, such as LCD, FPC, PCB, circuit board, screw, spring, clock, watch, instrument, connector (connector, terminal block), gear, cam, thread, radius template, thread template, Wires and cables, knives, bearings, hardware, stamping parts, sieves, test sieves, cement sieves, stencils (steel meshes, SMT templates), etc.
| X/Y axis travel(mm) | 600*500 |
| Z-axis travel | Effective space 245mm, focusing stroke 200mm, working distance 90mm |
| Glass table size(mm) | 800*700 |
| Transmission type | XYZ three-axis precision V-shaped cross guide! X/Y axis polished rod transmission, Z axis polished rod transmission |
| Digital measurement system | Optical ruler resolution: X/Y axis 0.0005mm |
| The multi-function data processor can measure points, lines, arcs, circles, angles, etc. | |
| Measurement accuracy | ≤3UM+L/200 Repeatability: ≤3UM |
| Video targeting system | Lens: WM high-definition zoom lens, continuous magnification 0.7-4.5X |
| Lighting system | Surface light source and transmitted light source LED cold light source, long life, adjustable brightness (5 rings and 8 zones light source program-controlled light source) |
| Laser positioning | Dual laser positioning indication |
| Dimensions of the instrument | (L*W*H) 1000*1150*1750(mm) |
| Instrument weight | 300 (KG) |


