How to use the high and low temperature test chamber
Step 1: First find the main power switch on the right side of the high and low temperature test box (the switch is down by default, which means the device is turned off), and then push the power switch up.

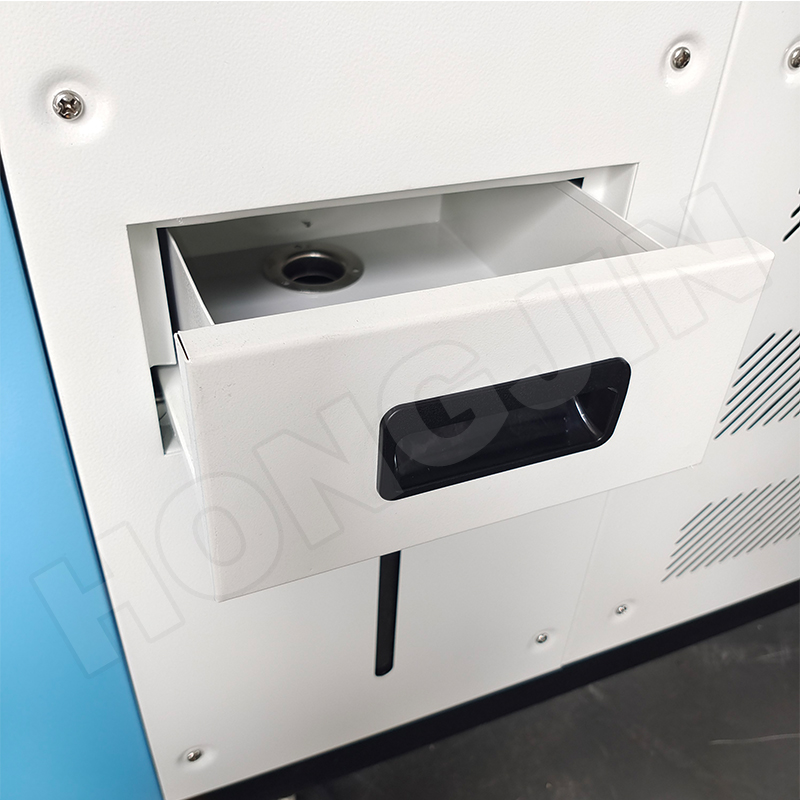
Step 2: Check whether there is water in the water tank of the high and low temperature test box. If there is no water, add water to it. Generally, add water to two-thirds of the displayed scale (PS: Note that the added water must be pure water, If it is tap water, since the tap water contains certain impurities, it may block and cause the pump to burn)
.

Step 3: Go to the front of the controller panel on the front of the high and low temperature test box, find the emergency stop switch, and then twist the emergency stop switch clockwise. At this time, you will hear a “click” sound, the controller panel lights up, Indicates that the high and low temperature test chamber equipment has been activated.

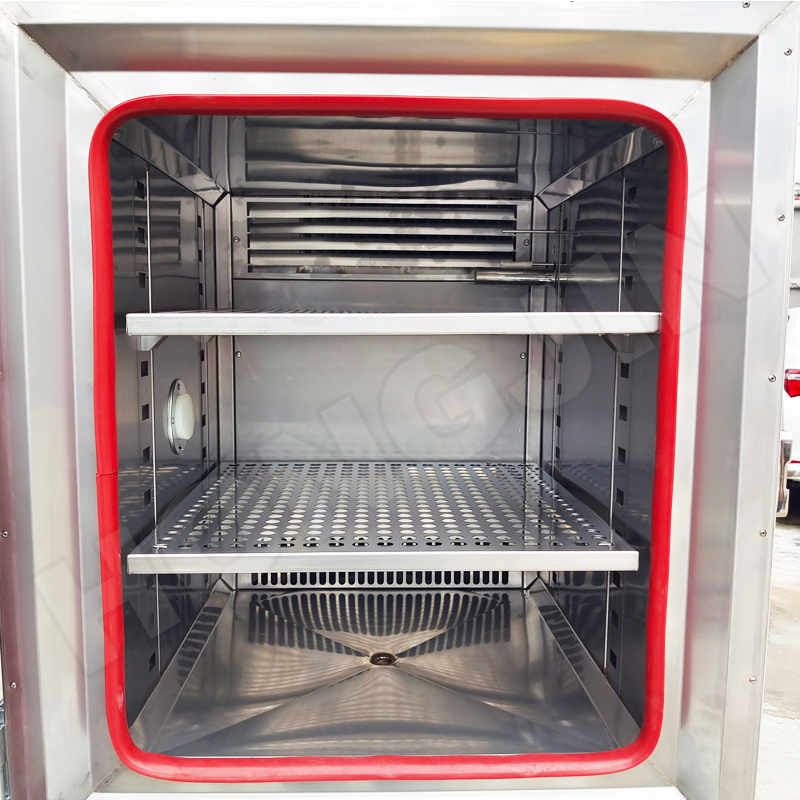
Step 4: Open the protective door of the high and low temperature test box, then put the test items you need to do the experiment in a suitable position, and then close the protective door of the test box.


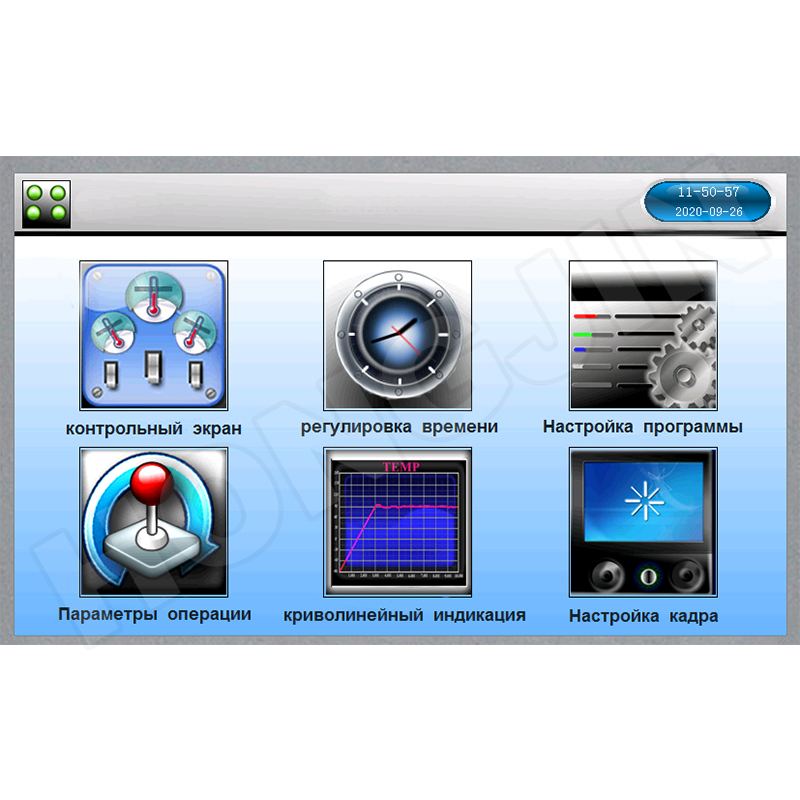
Step 5: Click “Operation Settings” on the main interface of the high and low temperature test box, then find the section where “Operation Mode” is located, and select “Fixed Value” (PS: The program is based on its own setting program for experiments, commonly known as programmable)
Step 6: Set the temperature value to be tested, such as “85°C”, then click ENT to confirm, the humidity value, such as “85%”, etc., then click ENT to confirm, confirm the parameters, and click the “Run” button in the lower right corner.
Post time: Mar-24-2022

